So, you’re thinking about your driveway. Maybe it’s seen better days, or you’re putting in a new one entirely. Asphalt paving isn't just about throwing down some black stuff, you know? There’s a lot that goes into making it last, especially with our Indiana winters and the clay soil we often deal with around Goshen.
Before the Project: Planning & Prep
This is where you can save yourself a ton of headaches and money. A good foundation is everything for an asphalt driveway. You wouldn't build a house on sand, right? Same goes for your driveway, believe me.
- Assess the Drainage: Take a good look at how water flows around your property. Does it pool up near where your driveway will be? Is your yard sloped towards the house? You really want water to run *away* from your foundation and off the driveway. This might mean grading the area or even adding a French drain. If you're not sure, get a pro to take a look; poor drainage will absolutely ruin even the best asphalt job over time.
- Subgrade Prep: For a new driveway, this means clearing vegetation, removing topsoil, and compacting the subgrade. You can rent equipment like a plate compactor for smaller areas, but for a whole driveway, that’s a lot of work. If you're just patching, you'll need to dig out the old, damaged asphalt and any soft spots in the base. Just make sure that base is solid and well-drained.
- Material Choice: For the base layer, crushed stone (like #53 or #8s) is usually what you want. It compacts well and drains beautifully. How much? That depends on your soil and how much traffic the driveway will see. A typical residential driveway might need 6-8 inches of compacted base. This isn't a DIY measurement, though; a professional will know exactly what’s needed for your specific site.
What can you DIY here? Clearing brush, marking out the driveway, and maybe even some basic hand-digging for small patches. But for proper grading, heavy compaction, and figuring out base material depths, you really want a professional. They've got the heavy equipment and the know-how to get it right the first time, which saves you trouble later.
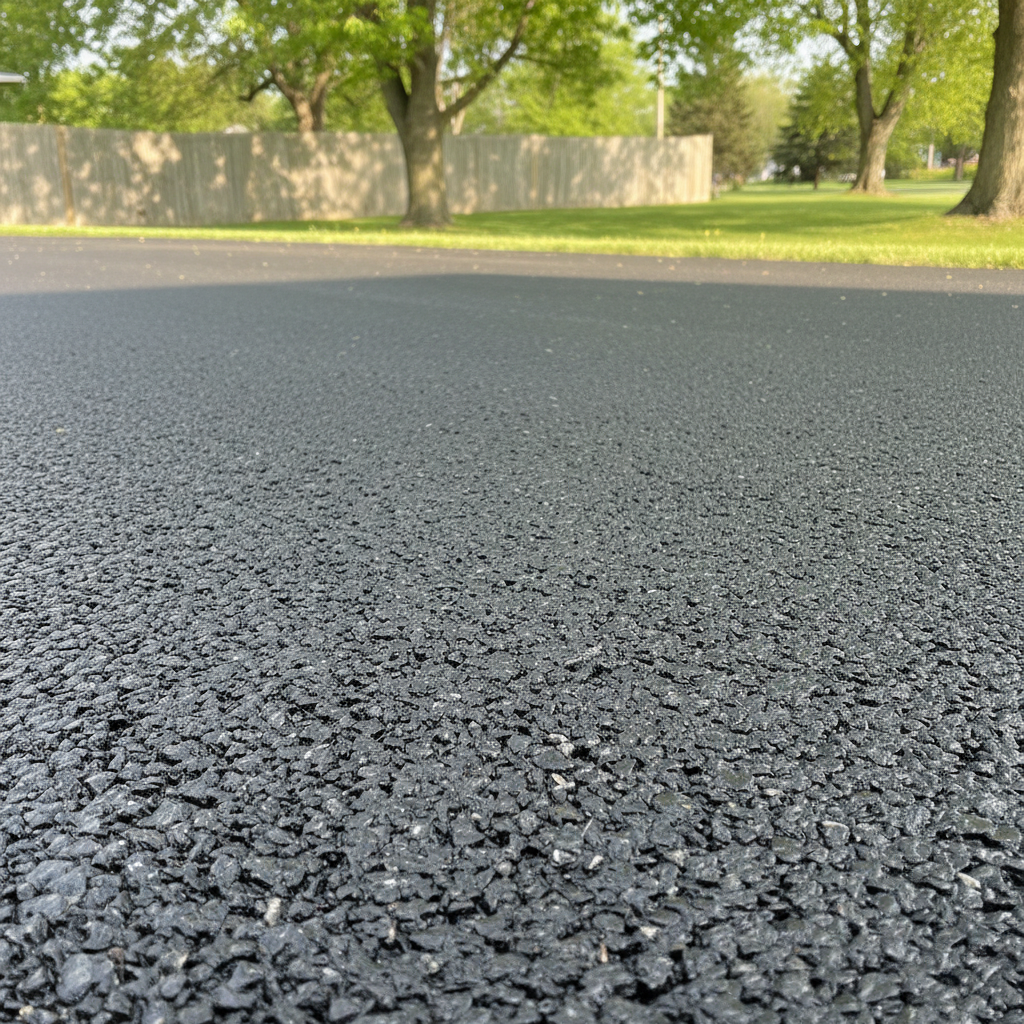
During the Project: Laying the Asphalt
This is almost entirely a job for the pros, especially for a full driveway. Asphalt isn't like concrete that you can mix in a small batch. It arrives hot, needs to be spread quickly and evenly, and then compacted to specific densities. It's a race against the clock, and it takes specialized equipment and an experienced crew.
- Temperature Matters: Asphalt needs to be laid at a certain temperature to compact correctly. If it cools too much before compaction, it won't bond properly, and you'll get cracks and potholes much faster. This is why you often see paving crews working on warmer days.
- Layering: Most driveways will have at least two layers: a binder course for strength and a surface course for a smooth finish. Each layer needs proper compaction, by the way.
- Compaction: This is critical. Rollers compact the asphalt to achieve the right density, which gives it its strength and durability. Under-compacted asphalt will break down quickly. Over-compacted asphalt can also be an issue, though that's less common for residential work.
Can you DIY any of this? Maybe a very small, shallow patch if you can get your hands on some cold patch asphalt and a hand tamper. But for anything beyond a minor repair, you're looking at a professional job. Trying to lay a full driveway yourself with rented equipment is a recipe for a very expensive, very short-lived disaster. We've seen it, and it's never pretty.
After the Project: Care & Maintenance
Once your new driveway is down, the work isn't over. Proper care will significantly extend its life. This is where you, the homeowner, play a huge role.
- Curing Time: Don't drive on it immediately! Most contractors will tell you to stay off it for at least 24-48 hours, sometimes longer for heavy vehicles. Asphalt needs to cure and harden. Turning your wheels sharply on a fresh driveway can leave scuff marks, and who wants that?
- Sealcoating: This is your asphalt's sunscreen and rain jacket. It protects against UV rays, water penetration, and spills. You generally want to wait 6-12 months after installation before the first sealcoat to allow the asphalt to fully cure. After that, every 2-3 years is a good schedule. You can absolutely DIY sealcoating for a smaller driveway, but it's messy and takes some elbow grease. For larger driveways, or if you just don't want the hassle, Absolute Asphalt Inc. or another local pro can handle it.
- Crack Repair: Small cracks will happen over time. Filling them promptly prevents water from getting underneath and freezing, which leads to bigger cracks and potholes. You can buy crack filler at hardware stores and apply it yourself. Make sure the crack is clean and dry first.
- Edge Protection: The edges of your driveway are often the weakest points. Consider adding some landscaping, pavers, or even just a good, compacted shoulder of gravel to support the edges and prevent them from crumbling.
- Spot Cleaning: Oil or gas spills can soften asphalt. Clean them up quickly with an absorbent material and a degreaser designed for asphalt.
Taking care of your driveway after it's installed is probably the most impactful thing you can do yourself to make it last. A little preventative maintenance goes a long way. If you've got questions about what's best for your specific situation, don't hesitate to reach out to a local paving company. We're always happy to share our knowledge.